Text Message Animation in DaVinci Resolve: The Fast Way
DaVinci Resolve can do almost anything, which is exactly the problem when a scene just needs "a quick text message pop-up here". You can build an iMessage bubble in Fusion: a rectangle with rounded corners, a text node, a merge, a transform with keyframes for the slide-in, another for the slide-out, and a duplicate of the whole tree for every message. It looks right after an hour or two. Then the client changes the wording.
There is a faster route. Animate the conversation in MockClip, which draws real iOS-style notifications and chat screens with timing, typing and sounds, then bring the finished clip into Resolve as a layer. This guide covers the two formats that work best (a transparent ProRes 4444 MOV and a green chroma-key MP4), how to key the second one with the Delta Keyer, and how to use full chat screens as cutaways.
Why not build it in Fusion?
Fusion is the right tool when the text animation is the show: a stylised title sequence, a motion graphics piece, a branded lower third. For a believable phone message it has three drawbacks:
- Realism is in the details. iOS banners have specific corner radii, blur, shadows, icon placement, and a slide with a particular ease. Getting all of that right from scratch is slow, and an almost-right banner looks fake.
- Copy changes are expensive. Changing a sender name or a line of text in a node tree is fine once. Doing it for five messages across three versions is not.
- Chats are harder still. A scrolling conversation with typing indicators, read receipts and the keyboard sliding up is a small app, not a graphic.
MockClip's iMessage notification and chat templates already draw all of that. You type the messages and the timing, and the export is ready to drop on your timeline.
Option 1: The transparent ProRes 4444 MOV
This is the cleanest route for notification banners: the file carries an alpha channel, so there is nothing to key.
- In MockClip, open the iMessage notification or phone call notification template.
- Add the banners: sender, text, delay before each one, and how long it stays.
- Set Background to Transparent (Alpha Channel). Untick Show iPhone Bezel if you only want the banners.
- Set Export Format to MOV · ProRes 4444 (transparent), choose Full HD, and press Export.
- In Resolve, import the MOV into the Media Pool and drag it to V2 above your footage.
- In the Inspector, use Zoom and Position under Transform to place the banners.
If the area around the banners appears black, select the clip in the Media Pool, open Clip Attributes, and check the Alpha Mode setting on the Video tab: it should not be set to none. If your system still shows black, use option 2. It looks identical once keyed.
The transparent export is covered in depth in transparent notification video: MOV and WebM alpha export, including why VLC plays these files as black.
Option 2: The green screen MP4 and the Delta Keyer
An MP4 is lighter, plays everywhere, and is available on every MockClip plan.
- In MockClip, set the notification template's Background to Chroma Key (Solid Color). The default is pure green; pick another colour if green appears in your footage. Untick Show iPhone Bezel, Show Status Bar and Show Home Indicator so the banners are the only thing on the green.
- Export an MP4 Video in Full HD.
- In Resolve, put the MP4 on V2 above your footage.
- Select it and switch to the Fusion page. You will see a MediaIn node connected to a MediaOut node.
- Add a Delta Keyer between them (Shift+Space, type "Delta Keyer").
- In the Delta Keyer's Inspector, use the Background Color eyedropper on the green.
- Back on the Edit page, the banners now sit over the footage underneath.
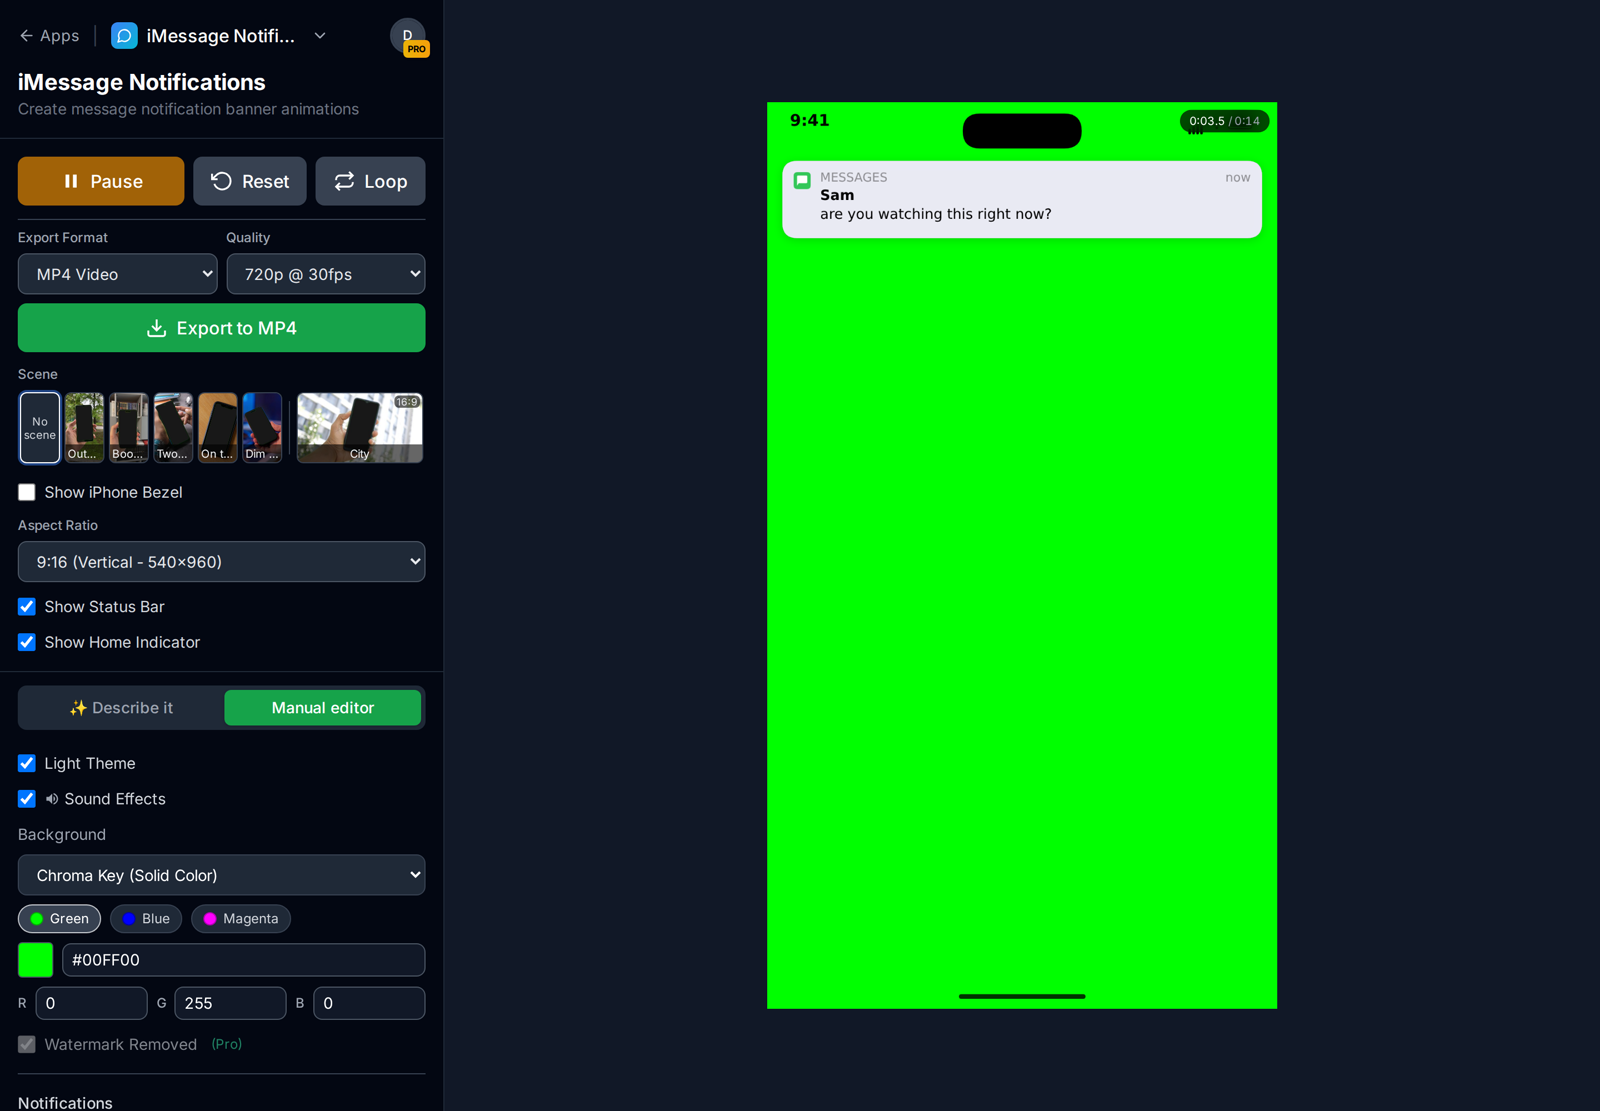
Because the green in a MockClip export is one flat colour with no lighting falloff or wrinkles, the default key is usually clean. If you see a faint green edge on the rounded corners, open the Matte tab and raise the threshold low value slightly, or apply a small erode. The green screen notification guide has more on choosing the key colour.
Tip: if you plan to reuse the keyed banner, render the Fusion clip in place (right-click → Render in Place) so playback stays smooth on long timelines.
Option 3: A full chat screen as a cutaway
Sometimes the story needs the whole conversation, not just a banner. YouTube explainers, true-crime channels and drama edits often cut to a full-screen chat.
- Open a chat template: iMessage, WhatsApp, Instagram DM or any of the others.
- Write the conversation, with typing indicators on the replies and read receipts where they help the story. The WhatsApp chat animation guide shows every option.
- Choose the frame. For a 16:9 YouTube timeline you can keep the iPhone bezel and float the phone in the frame over a blurred background, or pick the 3:2 landscape format for a wider screen.
- Export an MP4 and place it on V2. Use Zoom and Position to frame it, and add a Drop Shadow effect if the phone floats over footage.
For a 16:9 edit with a phone in a real hand, MockClip's landscape hand-held scenes export 1920×1080 directly: the chat appears on the screen of a phone held in real footage, with the footage around it. That is covered in phone screen replacement without After Effects.
A worked example: the thriller cutaway
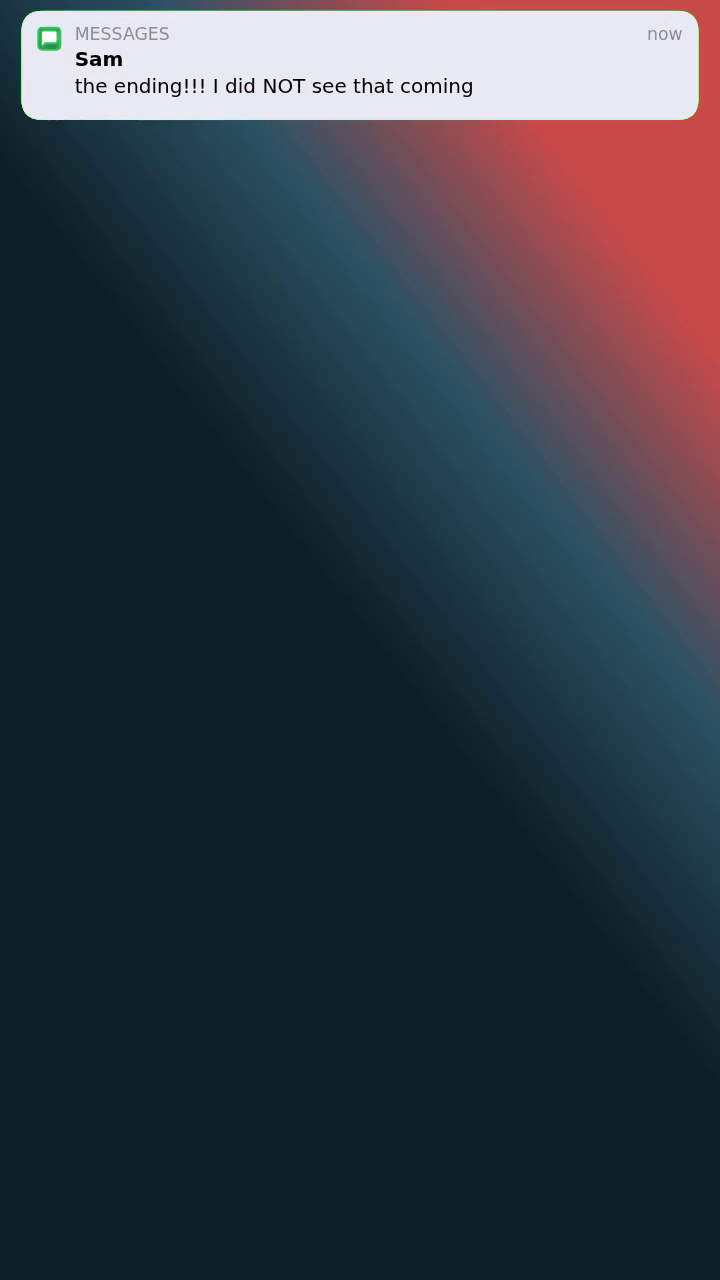
Here is a common YouTube and short-film brief: a character's phone lights up on the nightstand at 3 a.m., three messages arrive from an unknown sender, and the audience reads them over a slow push-in on the actor's face. The phone itself is never in focus, so the messages are an overlay, not a screen replacement.
- Write the banners in MockClip. Sender "Unknown", messages "are you awake", "I can see your light on", "look outside". Dark theme. A long delay before the first banner, then shorter gaps, so the tension builds.
- Export twice. Once as a transparent ProRes 4444 MOV for the master, and once as a green chroma-key MP4 at 720p as a lightweight stand-in while you cut. Swap the MOV in at the end.
- Build the timeline. V1 is the push-in on the actor. V2 is the overlay, placed so the first banner arrives two frames after the actor's eyes open. A2 carries the notification sound; drop it a few decibels and add a touch of reverb in Fairlight so it sounds like it is coming from a phone across the room.
- Sit it in the scene. On the Color page, pull the overlay's gain down slightly and add a soft glow so it reads as light in a dark room. Keep the text sharp; the audience has to read it.
- Lock it. When the edit is final, use Render in Place on the overlay to bake it into a single clip for smooth playback.
The same approach works for any scene where the phone is off camera or out of focus: the overlay is the audience's view of the screen.
Keeping a reusable notification kit in Resolve
If you cut a series (a channel with recurring "text from the group chat" moments, for example), set up a small kit once:
- A Power Bin of keyed overlays. Power Bins are shared across projects in a database. Keep your standard notification clips there, already keyed, and drag them into any project.
- A Fusion macro for the key. Save the Delta Keyer settings as a macro or a Fusion composition so a new green export is keyed in one drag.
- A style sheet for the overlays. Note your standard settings (theme, background, quality, display time per banner) in the series bible, so every episode's notifications match. A new episode is then a matter of typing the new messages, exporting and replacing.
Performance with ProRes 4444
ProRes 4444 files are large because each frame is stored almost uncompressed, with an extra alpha channel. On a laptop or a long timeline:
- Generate optimised media for the overlay clips if playback stutters (right-click → Generate Optimized Media).
- Cut with the MP4, finish with the MOV. Use a 720p chroma-key MP4 while editing and relink to the transparent MOV for the final render.
- Keep overlays short. Trim MockClip clips to the frames you use; a fourteen-second MOV is already tens of megabytes.
Common problems in Resolve
The banner edges are dark. The alpha may be interpreted as premultiplied when it should be straight, or the other way round. Try the other alpha mode in Clip Attributes.
The text looks soft after scaling. Export Full HD from MockClip and avoid scaling the overlay above 100% in the Inspector. If you need it bigger, export a larger version.
The slide animation stutters. The overlay's frame rate does not match the timeline. Export at the timeline's rate: MockClip offers 15, 24 and 30 fps (and 60 on Creator and Studio). For a 25 fps timeline, pick the closest rate and let Resolve conform the clip, and use frame interpolation only as a last resort.
The green is not fully removed. Make sure the eyedropper sampled the pure background, not the banner's soft shadow, and raise the threshold slightly.
Matching the scene
- Theme. Use the dark theme for night shots and dim interiors; a bright white banner over a dark shot looks pasted on.
- Grade it lightly. Apply a gentle grade to the overlay clip on the Color page so it sits in the scene: a touch less contrast and saturation goes a long way. Avoid grading it like the footage, though: a real phone screen is brighter than its surroundings.
- Sound. The export includes the notification sound. Put it on its own audio track and duck the music under it.
- Motion blur. For handheld footage, a small amount of motion on the overlay helps. Keyframe a slight drift in the Inspector to follow the camera.
- Length. Give each banner at least three seconds on screen so it can be read.
Frame rates and resolution
Match the export to your timeline. MockClip exports 15, 24 or 30 fps on every plan and 60 fps on Creator and Studio, at 720p or Full HD. A 24 fps film timeline should get a 24 fps export so the slide animation does not judder. The vertical 9:16 Full HD export is 1080×1920, ready for a vertical Resolve timeline. Every size is listed in the export settings guide.
Which plan you need
Everything in option 2 and option 3 works on the free plan: MP4 and GIF in 720p and Full HD, chroma key and every template, with a small watermark. Pro removes the watermark with a one-time payment. Transparent MOV and WebM, 60 fps and hand-held phone scenes are part of Creator. On Free, Pro and Creator, your MockClip videos are for your own content, monetised posts on your own channels included; work for clients and paid ads need Studio, and the brand-free apps are the templates made for them. Real-app templates such as iMessage recreate designs owned by other companies, which MockClip is not affiliated with; the terms explain how you may use them. See pricing for the current details.
Animate iPhone notifications and export a transparent MOV or a green screen MP4 for your Resolve timeline.
Make a notification overlayMore editor guides
The same exports work in other editors. If you also cut in Premiere, read how to add an iMessage scene in Premiere Pro. For phone-first edits, see text message animation in CapCut. And if the video is for a client, the guide to chat mockups for client videos covers briefs, revisions and delivering source files.
Frequently Asked Questions
How do I make a text message animation in DaVinci Resolve?
You can build one from scratch in Fusion with shapes, text nodes and keyframes, but it takes hours per scene. The faster way is to animate the conversation in MockClip, export it as a transparent ProRes 4444 MOV or as an MP4 on a green background, and place it on a track above your footage in Resolve.
Does DaVinci Resolve support transparent ProRes 4444?
ProRes 4444 is a standard format for footage with an alpha channel and is widely used with Resolve. If the background of a MOV shows black on your timeline, check the clip's alpha mode in Clip Attributes. If your setup still does not show the transparency, use the chroma-key MP4 and a Delta Keyer instead.
What is the best keyer for a green notification in Resolve?
The Delta Keyer in the Fusion page handles a flat green background very cleanly. Because MockClip draws the background as a single perfect colour with no lighting variation, one eyedropper click is usually enough.
Can I put a WhatsApp chat on screen in Resolve?
Yes. Export the WhatsApp chat from MockClip as an MP4, with or without the iPhone bezel, and place it on a track above your footage. Scale and position it in the Inspector. Chat screens are full app screens, so they do not have a transparent background option.
Is MockClip free for this?
The chroma-key route is free: MP4 exports in 720p and 1080p with any chroma colour work on every plan, with a watermark until you upgrade. Transparent MOV and WebM, 60fps and hand-held phone scenes are part of the Creator and Studio plans.
Related Articles
How to Add an iMessage Text Scene in Premiere Pro (2026)
Add an animated iMessage conversation or notification to a Premiere Pro edit: transparent ProRes 4444 overlays, Ultra Key for green screen, and phone screens.
Text Message Animation in CapCut: Chat & Notification Guide
Add an animated iMessage chat or iPhone notification to a CapCut edit on desktop or mobile: overlays, chroma key, timing to the beat, exporting for TikTok ads.
Green Screen iPhone Notification Videos (Chroma Key Ready)
Export iPhone text and call notifications on a pure green background — ready to chroma key over any footage in CapCut, Premiere, or DaVinci.
Transparent Notification Video: MOV and WebM Alpha Export
Export iMessage and phone call notification videos with a real alpha channel as ProRes 4444 MOV or VP9 WebM. Drop them on any footage, no green screen to key.
WhatsApp Chat Animation Generator: Create Viral Videos
Free WhatsApp chat animation generator for creating realistic message videos. Animate conversations with typing indicators, read receipts, and timestamps.