How to Make a Fake Vinted Listing Video (Free, in Browser)
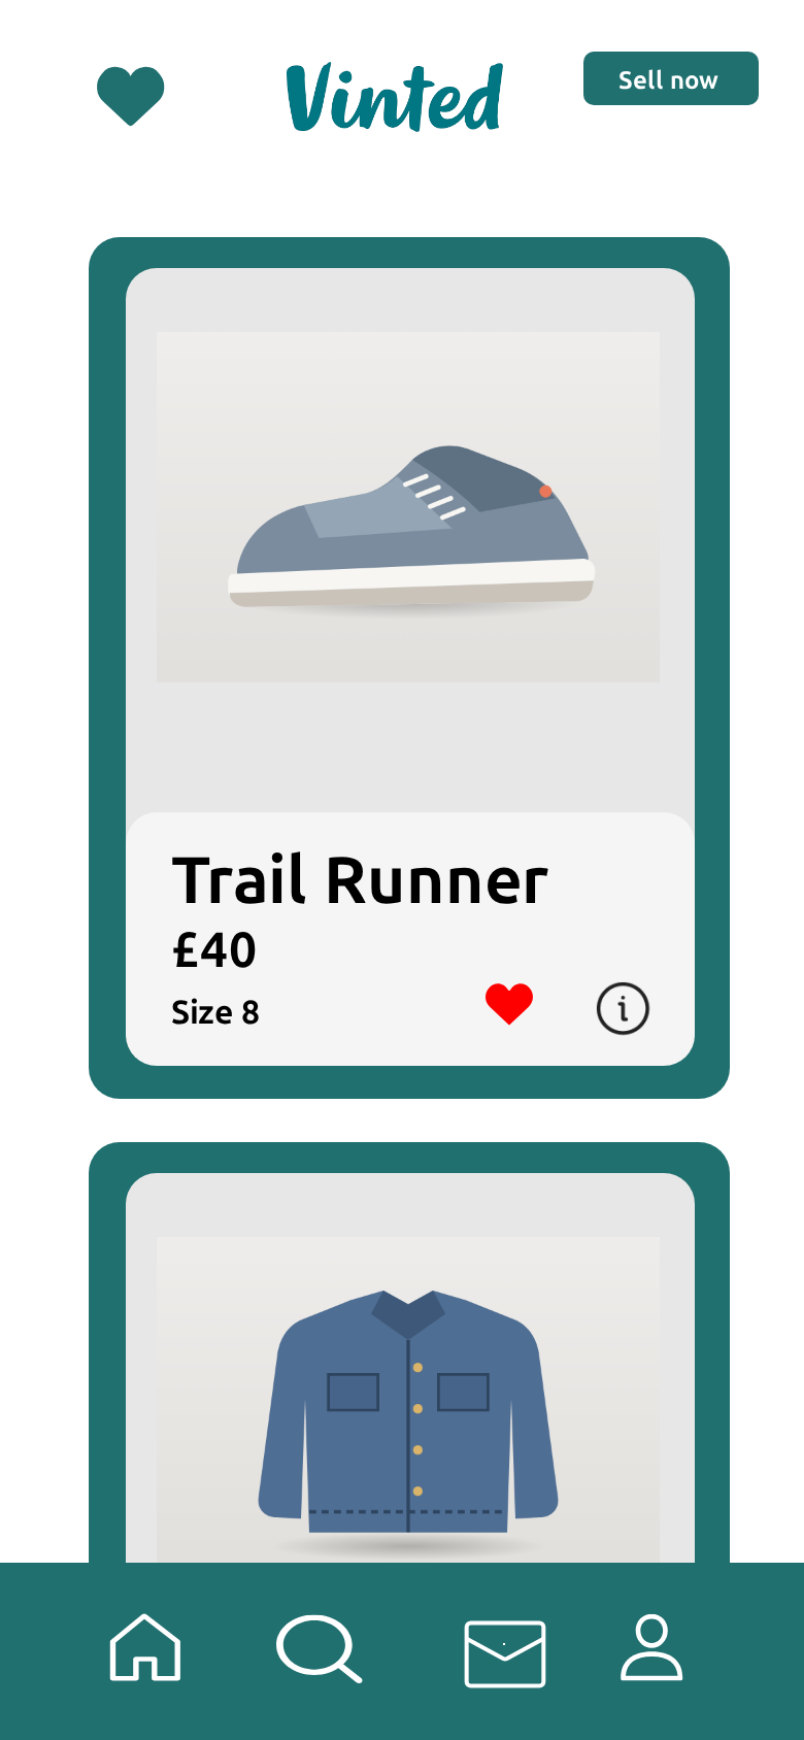
MockClip's Vinted template turns listings you write into an animated phone screen that looks like a second-hand marketplace app on an iPhone. Big listing cards scroll under the Vinted header, each one with an item photo, a title, a price, a size line, a heart and an info button. Tap a heart and it pops and turns red. Tap into a listing and the item page slides in with its brand, category, size, condition and colour rows, a description, the upload time and the Buy now, Make offer, Message seller and Seller reviews buttons.
This guide walks through the whole process, from the editor's default clip to an exported MP4. It takes about ten minutes the first time and a couple of minutes once you know where everything is. At the end there is a short checklist you can follow every time you make a new clip.
Every word and every photo in the clip is yours. Nothing is read from or sent to Vinted, and MockClip is not affiliated with Vinted UAB. The screens follow a community design kit of the app, not every detail of the current Vinted release. Use the template for skits, explainers, tutorials and storytelling, and keep the listings fictional or your own.
What the template draws
Before you start, it helps to know which screens exist, because the video is built by arranging them in order.
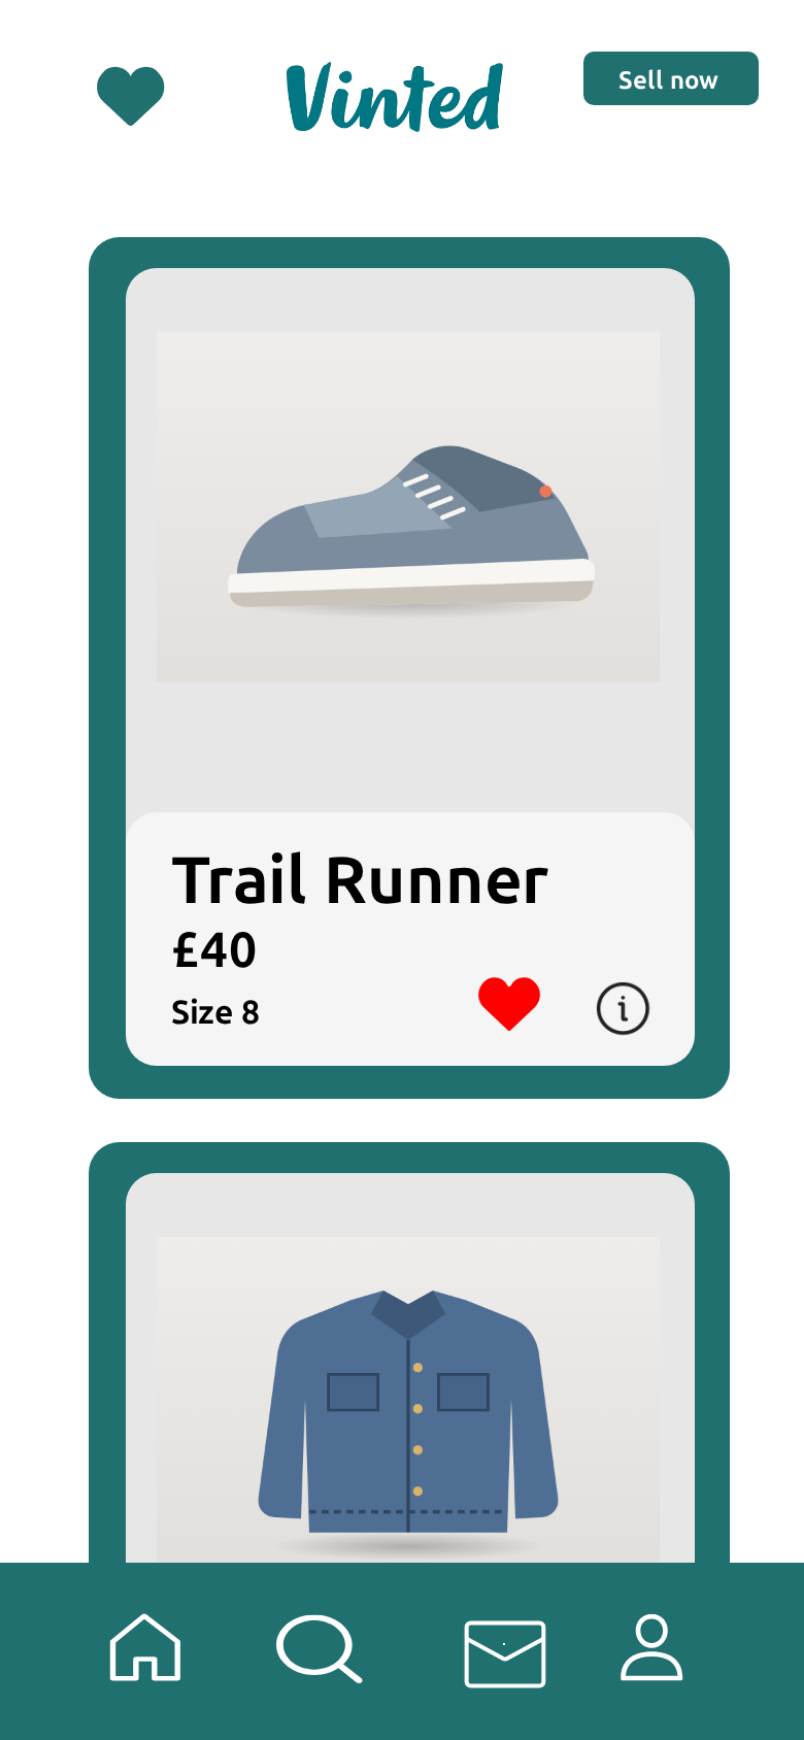
- Home. A column of listing cards. Each card has a teal rounded frame, a grey photo well with the item photo, and a light panel with a large title, the price, a size line, a heart and an info button. The header (a heart, the wordmark and a Sell now button) and the tab bar (home, search, messages and profile icons) stay fixed while the cards scroll between them.
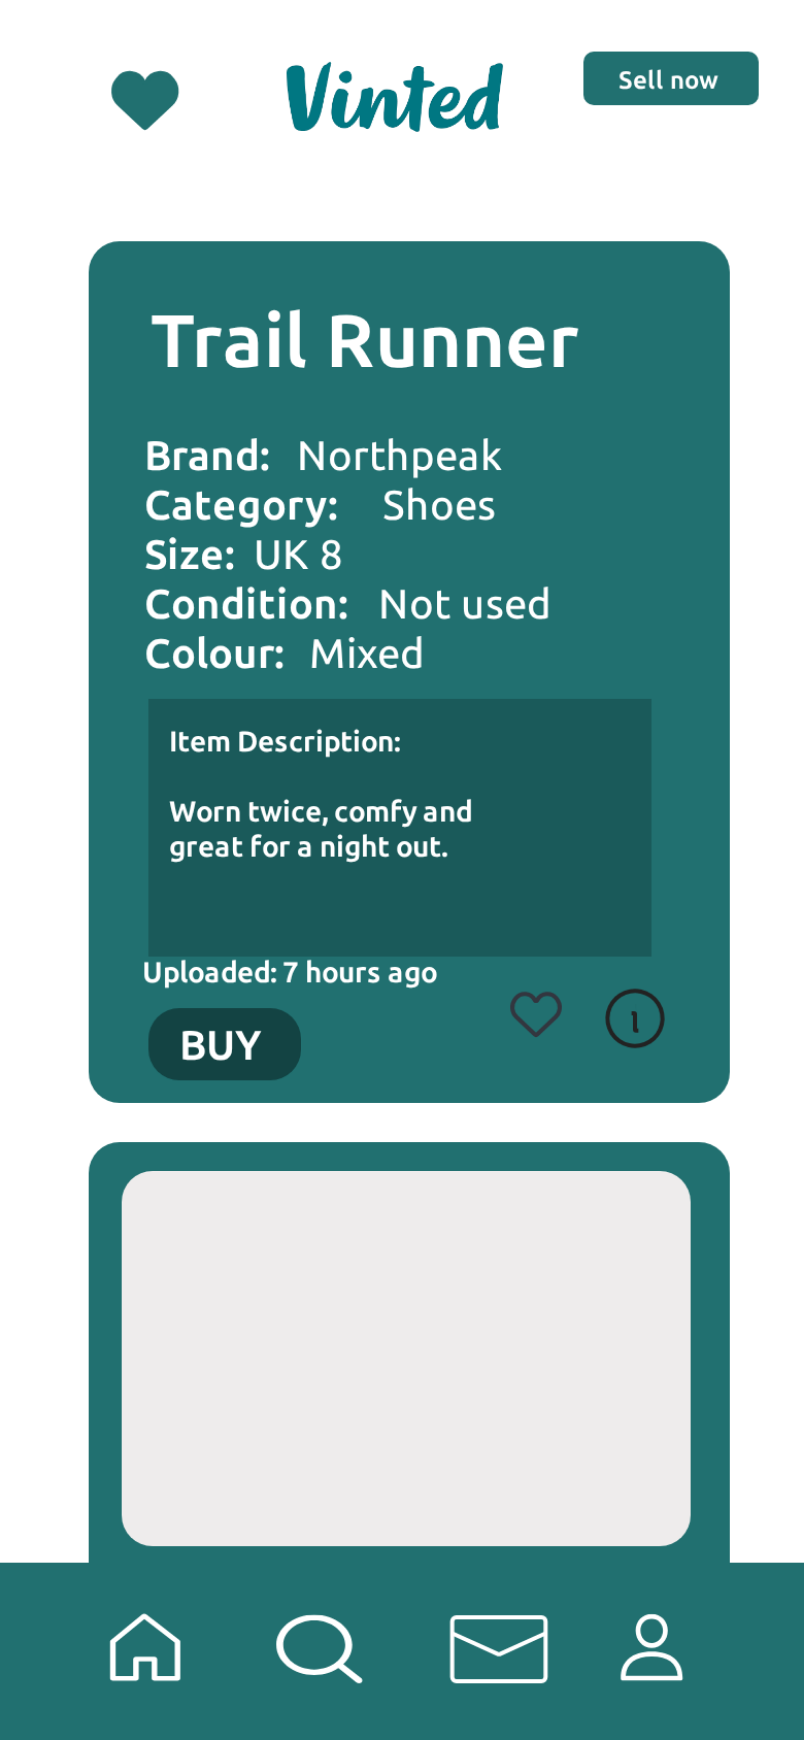
- Quick view and Quick view (liked). The first listing expanded inside the feed: the title, the five detail rows, the description box, the upload time, a Buy button, the heart and the info button, with the next listing's card under it. The liked version shows the heart filled in red.
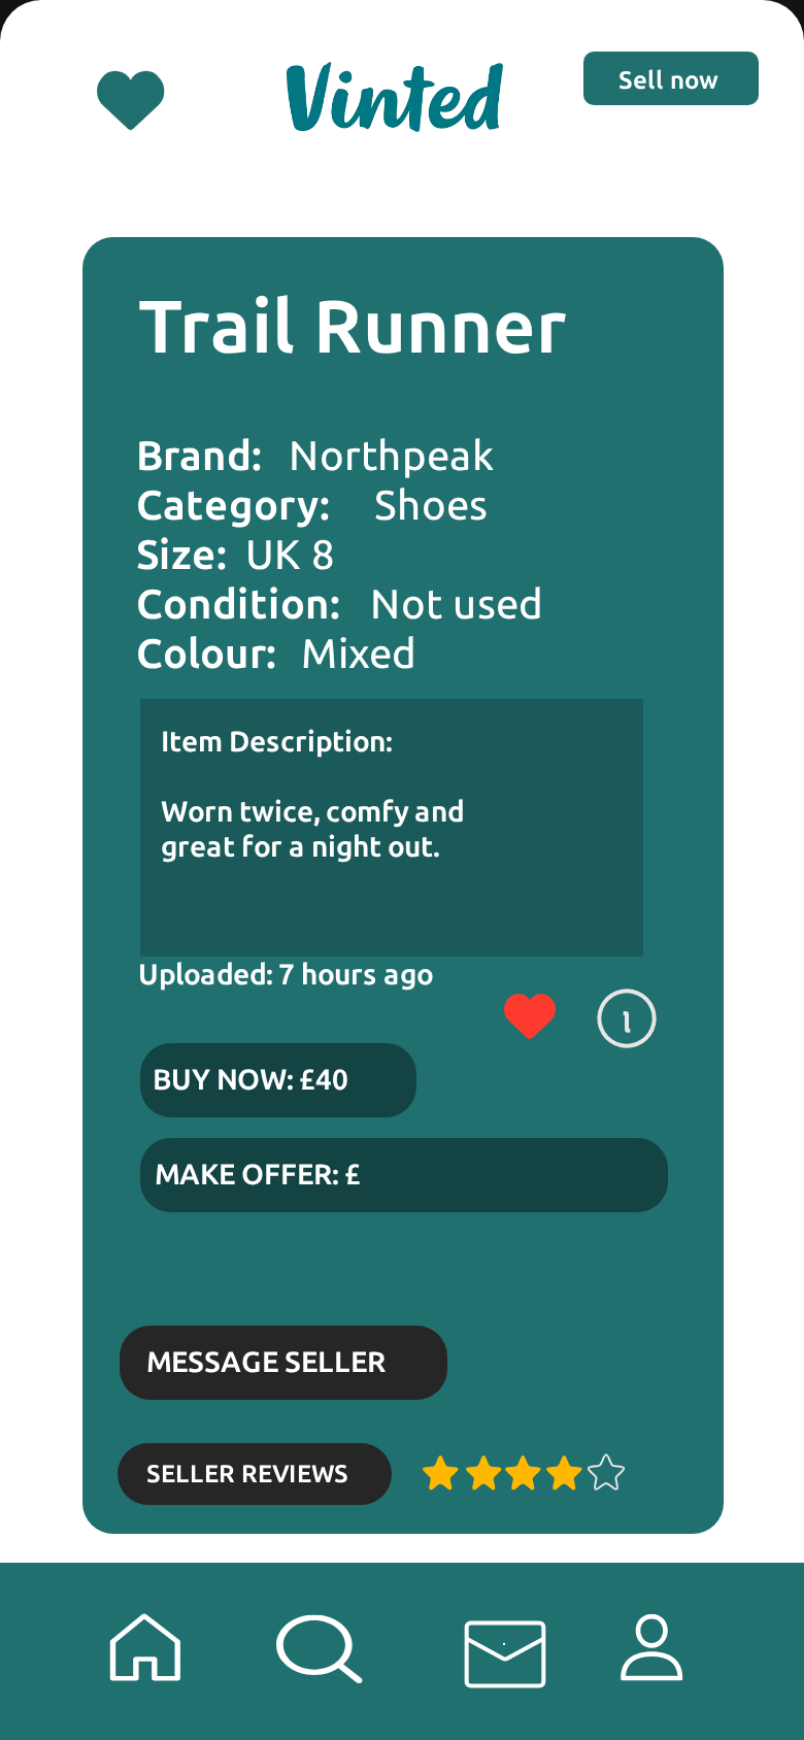
- Item and Item (liked). The full item page: the title, the detail rows, the description, the upload time, Buy now and Make offer buttons, Message seller, and Seller reviews with a four-star rating. Again, the liked version has the red heart.
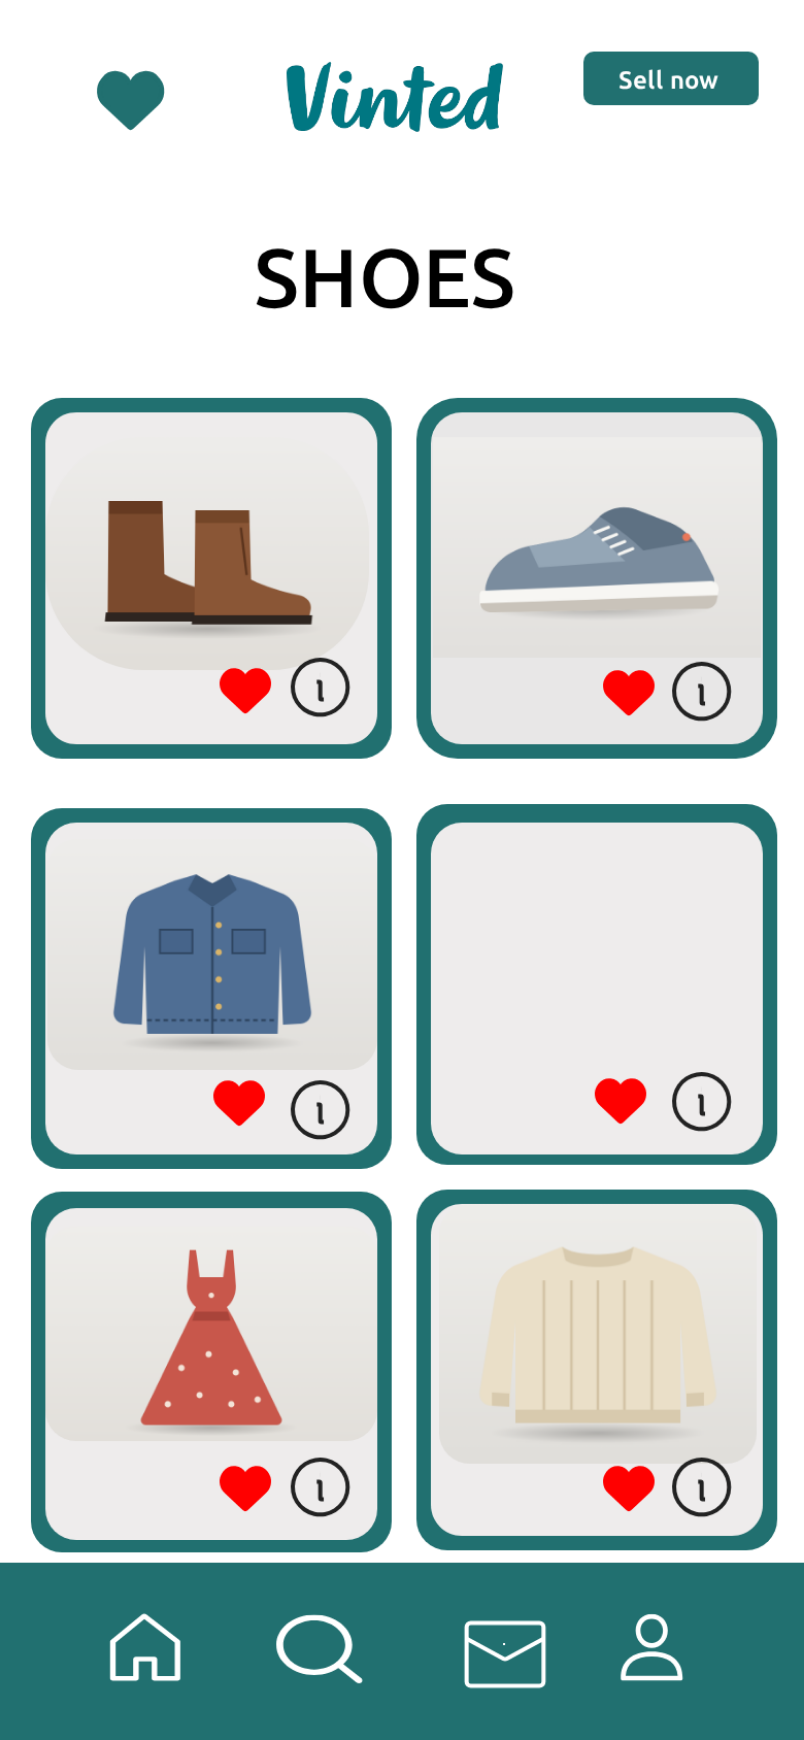
- Hearts. Your saved categories: shirts, trousers, outerwear, dresses, shoes and an add tile.
- Saved and Saved (unliked). A grid of saved items, each with a photo, a heart and an info button. The unliked version shows one item with its heart removed.
Both a light theme and a dark theme are available. The dark theme keeps the teal cards and puts them on a near-black background.
Step 1: Open the template
Go to mockclip.com/app/vinted. The editor opens with a default clip already loaded: six listings (a trail runner, a denim jacket, a knit jumper, ankle boots, a summer dress and a canvas tote) and a flow that hearts the first listing, scrolls down two cards and back, opens the item page and hearts it there too. Press Play under the preview to watch it once. The whole clip runs a little over nine seconds.
At the top of the editor you choose between Describe it, which drafts a clip from one sentence, and the manual editor. This guide uses the manual editor, which works without an account. Describe it is covered near the end.
The editor has a row of tabs, one per screen: Home, Quick view, Quick view (liked), Item, Item (liked), Hearts, Saved and Saved (unliked). Clicking a tab shows that screen in the paused preview and the fields that belong to it underneath.
Step 2: Write your listings
On the Home tab, the Listings section holds one row per listing card, top to bottom. Each row has:
- Title. The large name on the card, such as "Trail Runner" or "Linen Shirt". About fourteen characters fit on one line at this size; a longer title ends with an ellipsis rather than spilling out of the card.
- Price. Written exactly as it should appear, for example "£40", "€25" or "$18". Use the currency your audience expects.
- Size line. The small line under the price: "Size 8", "Size M", "One size", "EU 39".
- Liked. Tick it if the heart should already be red when the clip starts. Leave it unticked if you want the heart to pop red during the video.
- Photo. Upload a photo of the item. It fills the photo area of the card, cropped to fit, so a landscape photo of the item on a plain background works best.
Use + Listing to add a card, drag rows to reorder them and delete the ones you do not need. Two or three listings are enough for a short clip; five or six give the scroll somewhere to go.
A note on photos: the editor's default photos are neutral illustrations, so the clip never shows a real brand by accident. If you upload product photos with visible logos, check that you are allowed to use them. Your own items photographed on a plain sheet or wall look the most natural.
Step 3: Script what happens on the home screen
Under the listings, the section "What happens on this screen" lists the steps the home screen plays while it is shown. Three kinds of step are available:
- Scroll. Scroll to a listing (by its number, starting from the first), to the top or to the bottom. The cards glide under the header and the tab bar while both stay put.
- Like. Heart a listing. The heart pops to a larger size and settles back, filled in red. A soft sound plays if sound effects are on.
- Pause. Wait before the next step, for example to let a viewer read a price.
Every step has a delay before it, so you can control the rhythm. The default script is "Like listing 1", then "Scroll to listing 3", then "Scroll to the top". That gives a short browse before the flow opens the first listing.
A few patterns that read well on video:
- Find and heart. Scroll to the third listing, pause half a second, like it. The viewer's eye follows the scroll and lands on the heart.
- Heart, then browse on. Like the first listing straight away, then scroll down past the rest. Good for a "this one, obviously" joke.
- The long scroll. Scroll to the bottom slowly, then back to the top, then like the first listing. It builds anticipation before the reveal.
Step 4: Fill in the item page
The Item and Quick view tabs share one set of fields, shown under the heading Listing, so the item looks the same wherever it appears:
- Title. Usually the same as the first listing's title.
- Details. Five lines, one per row, in this order: brand, category, size, condition, colour. For example: "Northpeak", "Shoes", "UK 8", "Not used", "Mixed". Each line is drawn after its label (Brand, Category, Size, Condition, Colour).
- Description. The text inside the description box. Start it with "Item Description:", then an empty line, then one or two short sentences.
- Uploaded. The line under the box, such as "Uploaded: 7 hours ago".
- Buy Now. The label of the buy button, such as "BUY NOW: £40". Keep the price the same as on the listing card.
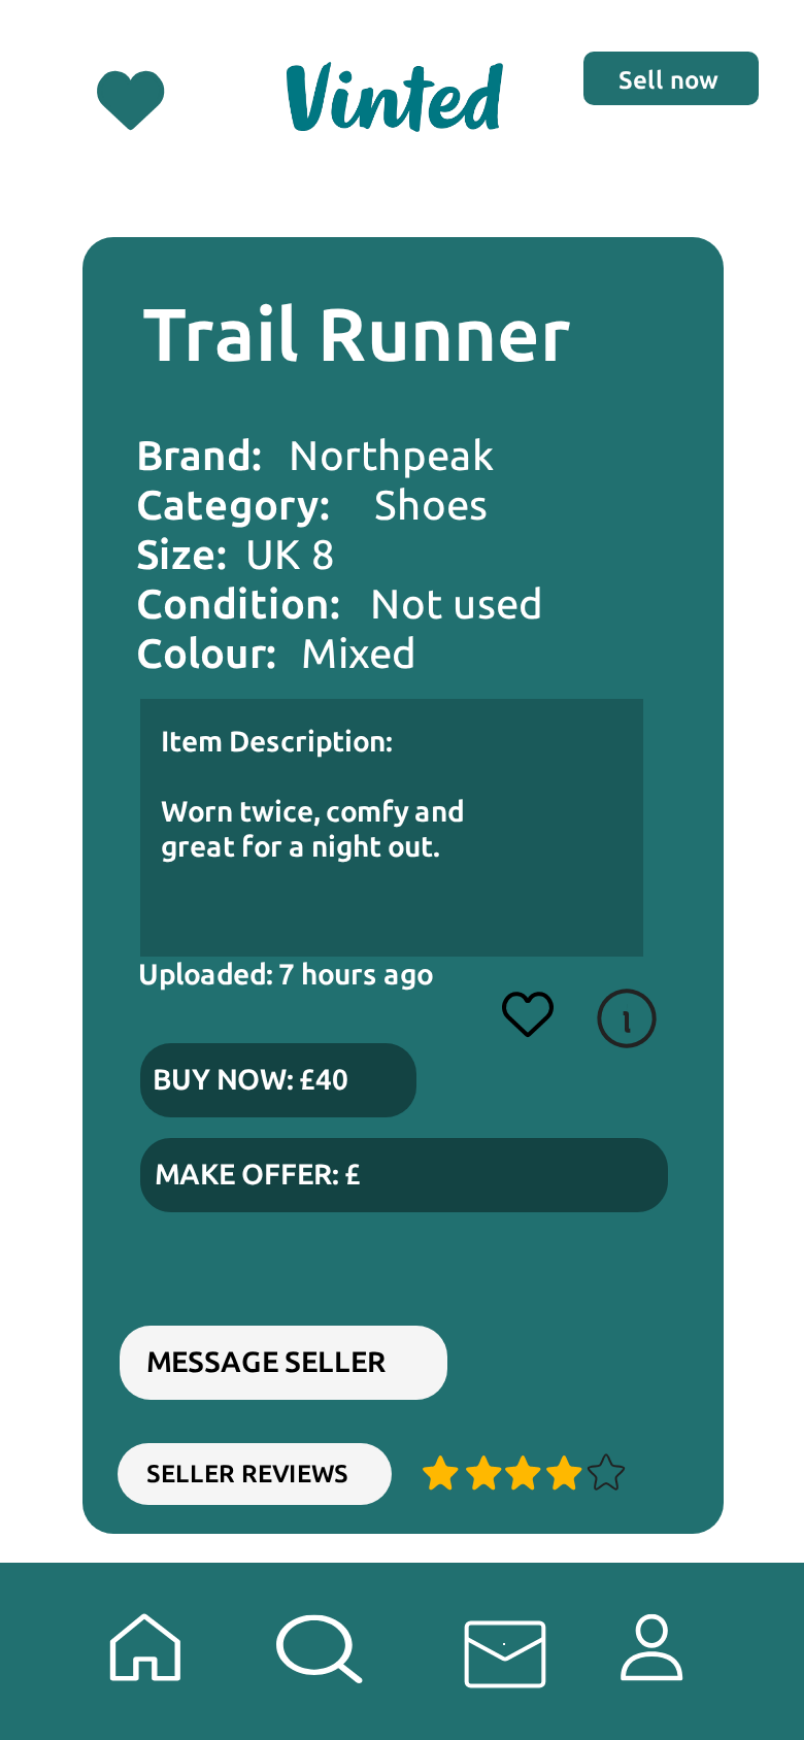
The page's buttons are part of the design: they do not open other screens. The heart on the item page is shown outlined on the Item screen and red on Item (liked), so hearting an item on its page is done by moving from one to the other in the flow, which the next step covers.
Step 5: Arrange the screens in Video flow
Video flow is the list of screens the clip walks through, in order. Each step names a screen, the transition into it and how long it holds. The template knows which moves make sense and offers only those transitions:
- Home to Item: a push, after a touch indicator on the listing's info button.
- Item to Item (liked): a fade, after a touch on the heart. This is the "heart it on the item page" moment.
- Item back to Home: a pop, after a touch on the home icon in the tab bar.
- Home to Quick view: a fade, the card expanding in place.
- Quick view to Quick view (liked): a fade on the heart.
- Quick view to Item: a push after a touch on the Buy button.
- Home to Hearts: a fade after a touch on the heart in the header.
- Hearts to Saved: a push after a touch on the Shoes tile.
- Saved to Saved (unliked): a fade on a heart, removing one item from your saved list.
The touch indicator (a small circle that appears where the finger lands) shows before each move by default. Turn it off with the Show taps switch if you want plain cuts.
Hold times are where most of the pacing lives. Give the home screen enough time for its script to finish: the default holds it for a little over five seconds, which covers the like, both scrolls and a short beat after them. A screen that only needs a glance, like the Item page before it is hearted, can hold for one to one and a half seconds.
Step 6: Use the quick view and the saved items
Two optional paths make longer clips.
Quick view. Instead of pushing into the full item page, the first card expands in place and shows the details inside the feed. It is a good fit for a calmer, "let me show you this one" video. From there the Buy button pushes into the full page.
Hearts and Saved. Tapping the heart in the header opens the Hearts page with your saved categories, and the Shoes tile opens the saved items grid. On the Saved tab you can upload five photos (Photo1 to Photo5) for the grid, so it shows your own items. The Saved (unliked) screen shows the same grid with one heart removed, which makes a neat ending for a "changed my mind" clip.
Step 7: Pick a theme, a format and export
In the settings at the top of the editor:
- Theme. Light or dark. The dark theme suits evening-scroll content and stands out in a light-mode feed.
- Format. 9:16 for TikTok, Instagram Reels and YouTube Shorts; 9:19.5 for a full iPhone screen; 1:1 for a square crop in feeds; 3:2 for a landscape frame with room around the phone. The header and the tab bar stay pinned in every format.
- Frame. With or without the iPhone bezel.
- Sound effects. On or off. The heart has its own short sound.
Press Play once more to check the timing, then open the export panel. Choose MP4 or GIF, 720p or Full HD, and a frame rate from 15 to 30 fps (60 fps on the Creator plan). The export runs in your browser; nothing is uploaded. Free exports carry a small MockClip watermark, and paid plans remove it. See the pricing page for what each plan includes.
Using Describe it instead
If you would rather not fill every field by hand, use Describe it, the AI panel at the top of the editor. Write one sentence about the clip you want, such as "scrolling Vinted for trainers, I heart a pair at £40 and open the listing to buy", and MockClip's AI drafts the listings, the home script, the item page and the flow. You can then edit every field. Describe it needs a Google or GitHub sign-in to MockClip; the manual editor does not. Read more in the guide to Describe it, the AI video generator, and for a list of sentences that work well, see the prompt ideas for TikTok and Shorts.
A checklist for every clip
- Write two to six listings with a title, a price and a size line, and upload a photo for each.
- Decide which listing is the star of the clip and make it the first one.
- Script the home screen: one or two scrolls and a Like on the star listing.
- Fill in the item page to match the star listing: the same title and the same price on the Buy now label.
- Arrange the flow: Home, a push into Item, a fade into Item (liked). Add Quick view or Hearts and Saved for a longer clip.
- Check the hold times so the home script finishes before the push.
- Pick the theme and the format, press Play, then export.
Common questions
Can the title be longer than one line? No: a listing title stays on one line and ends with an ellipsis if it is too long, like the app does. Keep titles short and put the detail in the item page's description.
Can I change the currency? Yes. The price is free text, so "€25", "$18", "25 zł" and "SEK 300" all work. Use the same form on the Buy now label.
Can a listing start already hearted? Yes: tick Liked on that listing. A Like step on an already-hearted listing removes the heart again, which you can use for a change-of-heart joke.
Can I show more than one item page? The item page shows one set of fields per clip, so the flow can open one item. For a clip that compares several items, use the home feed with several Like steps instead, or make two short clips.
Related templates
If your clip continues as a conversation, the Messenger template and the WhatsApp template cover chats. For a feed of posts rather than listings, see the X template. The next post, Vinted reseller video ideas, collects ready-to-use clip ideas for thrift and resale content built on this template.
Free to use. No sign-up. Browser-based.
Make a fake Vinted listing videoFrequently Asked Questions
How do I make a fake Vinted listing video?
Open MockClip's Vinted template, add your listings with a title, a price, a size line and a photo, add script steps such as Like and Scroll, fill in the item page, arrange the screens in Video flow, then press Play to preview and export an MP4 or GIF.
Is this connected to Vinted?
No. Every listing, price and photo is something you type or upload in the editor. Nothing is read from or posted to Vinted, and MockClip is not affiliated with Vinted UAB. Use fictional items or your own.
Can I use my own photos?
Yes. Each listing has a Photo upload, and the Saved items grid takes five photos of its own. Without an upload the editor shows neutral illustrations of a trainer, a jacket, a jumper, boots, a dress and a tote.
Does the template include a buyer and seller chat?
No. The template covers browsing: the listing feed, the quick view, the item page, the Hearts page and the saved items. Messages, offers being accepted, checkout and shipping are not part of it.
Do I need an account?
Not for the manual editor. Describe it, the AI panel that drafts listings and a flow from one sentence, needs a Google or GitHub sign-in to MockClip.
Which formats can I export?
MP4 or GIF, at 720p or Full HD and 15 to 30 fps (60 fps on the Creator plan), with or without the iPhone bezel. Vertical 9:16 suits TikTok, Reels and Shorts, and a 1:1 square crop suits feeds.
Related Articles
12 Vinted Reseller Video Ideas You Can Make in Your Browser
Twelve short video ideas for thrift, resale and second-hand fashion content, built with MockClip's Vinted listing template: scripts, timing and flows.
AI Fake Chat Video Generator: Describe It, Get the Clip
Type what the clip should be and MockClip's Describe it mode writes the messages and timing for WhatsApp, iMessage, ChatGPT, Tinder and more. Refine by second.
AI Chat Video Prompt Ideas for TikTok, Reels and Shorts
30+ ready-to-paste prompts for MockClip's Describe it mode: WhatsApp, iMessage, Telegram, ChatGPT, Reddit, Tinder and more. One sentence in, a chat video out.